Images / PRACTICAL GUIDE
GPT Images: edit a CV photo and check the likeness
You like how you look in the photo, but kitchen cupboards are visible behind your shoulder. Learn how to remove a distracting background and spot any changes to the face.
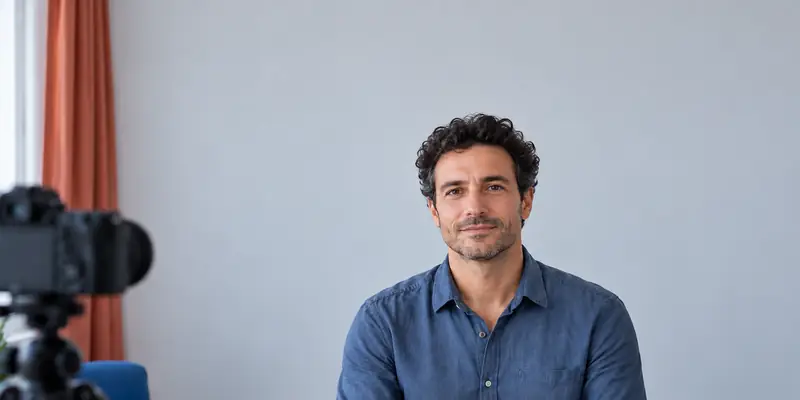
First decide whether you need generation
If you need a photo for a CV or work profile, choose a portrait that people will recognise when they meet you. Your expression and clothes may be suitable, but a busy background can be distracting. You can ask GPT Images to edit an uploaded photo. Start with one change: a quiet background in place of the room around you.
If only the edge of a cupboard is distracting, try a normal crop. If the whole frame is dark, try a simple exposure adjustment. Neither task requires recreating the face. Generative editing makes sense when this preparation cannot produce the background you need, while the person already looks right in the original.
Do not try to replace the background, clothes, hairstyle, pose and age at the same time. You would be choosing a new look rather than editing your photo. Here the task is specific: remove a distracting background, preserve your appearance and prepare the photo for its intended use.
Choose an original that lets you check the face
Choose a photo of yourself with clearly visible eyes, facial outline and hair. Leave space above your head and beside your shoulders. A badly blurred photo, hidden eyes or a cropped-off top of the head will require invented detail; a plausible result does not mean the missing details have been reconstructed correctly.
It is best to start with a photo of you alone. Crop out unnecessary areas containing other people or documents, and keep the original separately. Work on a copy. Choose the expression you want in the profile: asking to change a smile affects the lips, teeth and cheeks, which makes comparison harder.
Before editing, note the features you will use for comparison: the shape of your glasses frames, your hairline, a mole, the curve of your eyebrows or a noticeable asymmetry in your smile. This is not a list of flaws to fix. Use it later to check that the portrait has not become a picture of someone who merely resembles you.
Separate the background change from the ban on retouching
For edits, OpenAI’s official documentation recommends naming the change and the details to preserve separately. In this case, describe the background and list the features of the person that must stay the same. “Make a professional photo” leaves too much open: it does not say whether new clothes or smoother skin are acceptable.
The prompt below is for one attached portrait. The lighting on the person stays as it is. If you need different lighting on the face itself, first assess what ordinary photo adjustments can do, separately from generative background replacement.
EXAMPLE PROMPT
Edit the attached photo for a work profile. Replace only the background with plain light gray, without objects or text. Preserve the person: face shape, age, skin tone and natural texture, eyes, eyebrows, nose, lips, hairline, clothing and glasses, if present. Keep the original expression, head position, proportions and lighting on the person. Do not smooth the skin, change the teeth or add makeup. Keep the top of the head and shoulders intact, with room for later cropping. Edges around the hair and glasses must look natural.
Attach the photo separately
Open the GPT Images entry in the catalogue and follow its link to the editing tool. Attach the prepared copy of your photo there and check the thumbnail before starting. A text description alone cannot convey the appearance of your particular face. Make sure the photo is attached to an editing task; setting names and available actions depend on the interface you choose.
The YT·DOT field sends text, not an image. Its contents may be recorded by WebVisor. Do not include passport details, contact information or other unnecessary data in the prompt. You upload the file in the external service; before doing so, check that it contains no other people or documents you do not need. Sending a request may start processing and spend coins.
Check the likeness before the background
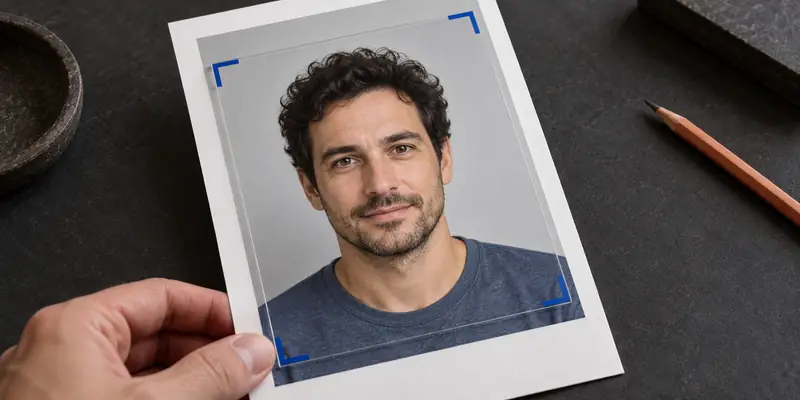
Open the original and the result side by side. Display the faces at a comparable size: a small copy can easily look neater because fine defects are not visible. First look at the whole person, then zoom in on the eyes, mouth, glasses and hairline.
Compare the distance between the eyes, the shape of the nose and chin, and the position of the corners of the mouth. Do not treat new symmetry or straighter teeth as a successful edit if you did not request those changes. A mole should not disappear, and the glasses frames should not turn into a different model.
After checking the face, inspect the boundary with the background. There should be no solid pale halo around the hair and no missing section of a glasses temple. A smooth background does not excuse a clipped ear or a newly shaped shoulder.
- Your appearance and expression are recognisable, and your age and natural skin texture have been preserved.
- The glasses frames, hairline and features you noted match the original.
- Skin tone and light direction have not changed without being requested.
- There are no clipped edges, halos or stray fragments around the hair, ears or clothing.
If the face changes, return to the original
If the background works but the glasses frames have changed, do not try to hide the mismatch with a vague request to “make it more natural.” Take the original photo and repeat a narrower task. For example, add the clarification below to the main prompt. You will be working from the original person again, rather than another version of an already altered portrait.
Even a precise clarification does not guarantee that every detail will be preserved. If the face keeps changing, stop the sequence of generations. To replace only the background, you can cut the person out of the original in an editor and place them on the background you need. This lets you leave the face free of generative edits and handle the hair edges and shadow separately.
EXAMPLE PROMPT
Work from the attached original photo. Change only the background. In particular, preserve the shape of the glasses frames and temples, the visible eyes and the skin around them. Do not invent new frames or correct facial asymmetry. All other requirements of the main task still apply.
Check the portrait where you will use it
Make a copy of the selected file and try it in the actual photo area of your CV or profile. A circular thumbnail may cut off hair and shoulders even when the rectangular version looks good. If you have to enlarge the face right up to the edges, return to a looser crop. Do not stretch the portrait horizontally to fill the frame.
View the finished photo area at its normal size, then inspect the file at a larger size for local defects. Use the pixel dimensions, file size and format requirements of the platform where you will publish the photo. Keep the original, the accepted edit and the final cropped copy separately. If you are unsure about the likeness, use the original photo or take a new one.